I was moving things around in my craft closet earlier, and I found my Kaiser Craft Chapter One 6.5x6.5 paper pad lying* on a shelf. It was all by itself since my boxes hold 6x6, not 6.5x6.5. I picked it up to fondle it, and a bunch of small pieces tried to escape. ENOUGH, I said, ENOUGH. I took all the small pieces out of the pack, cut them into strips, and made ... you guessed it: banners. I may be in a rut.
I pretty much pulled a repeat of
the other day and started sticking banners to white card bases until I ran out of banners. I ended up with 16 more cards for
OWH. Whoa.
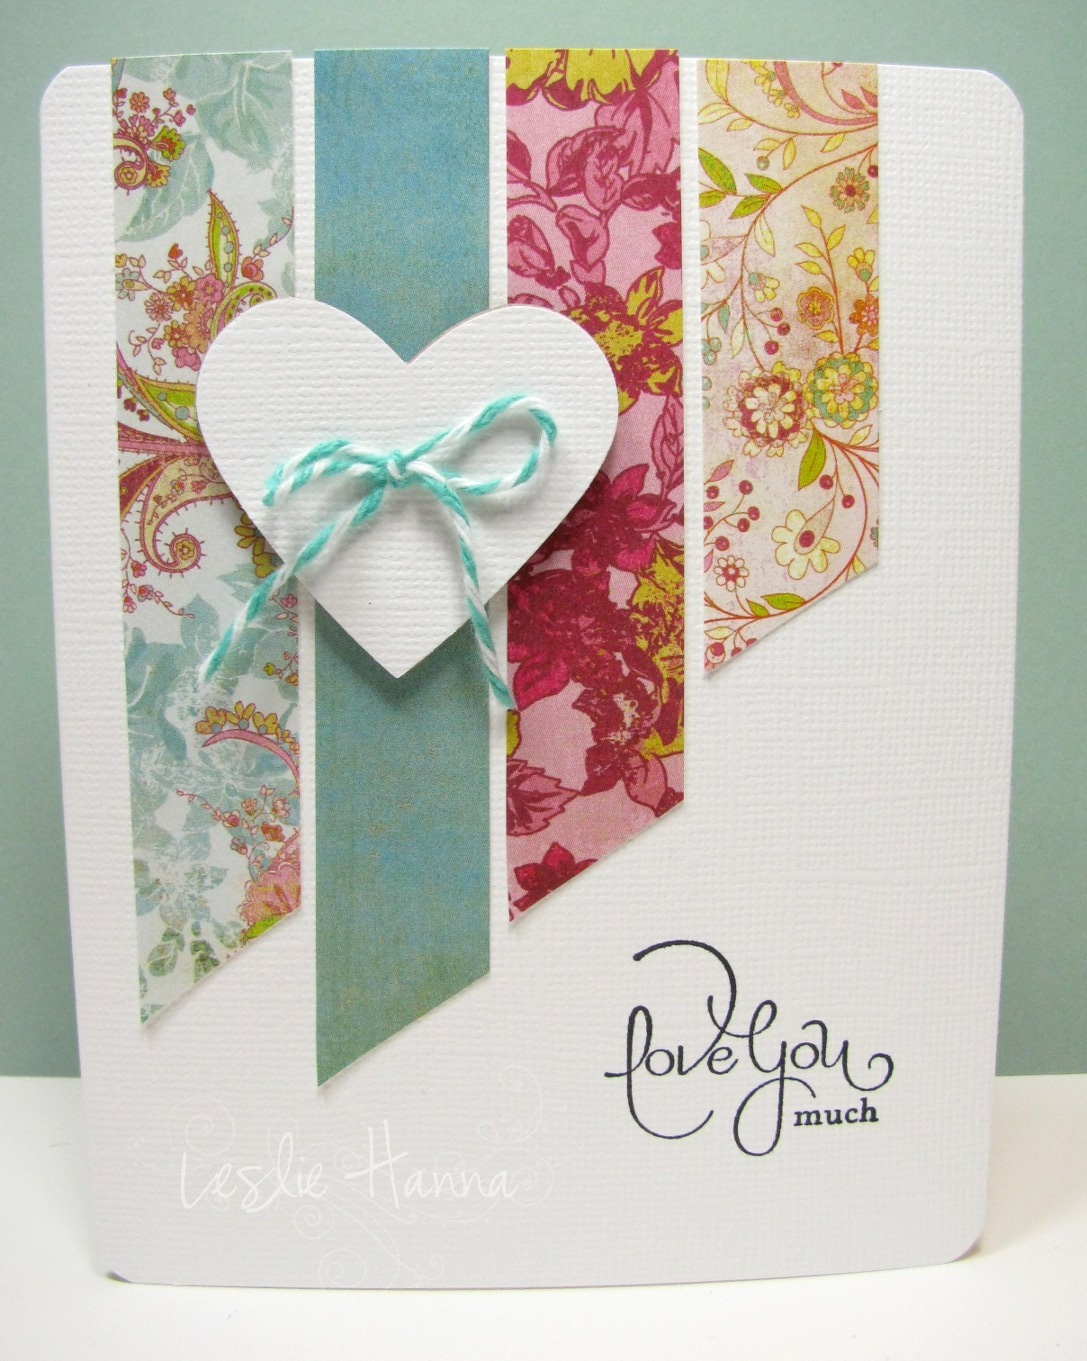
Here's one:
That's just three pieces of Chapter One paper stuck down with a 3/8" strip of one of the black sheets layered across the top of it. Why 3/8"? First, it's between 1/4" (too narrow) and 1/2" (too wide), and second it perfectly holds a 1/4" wide tape runner with no slop-over. It's just meant to be.
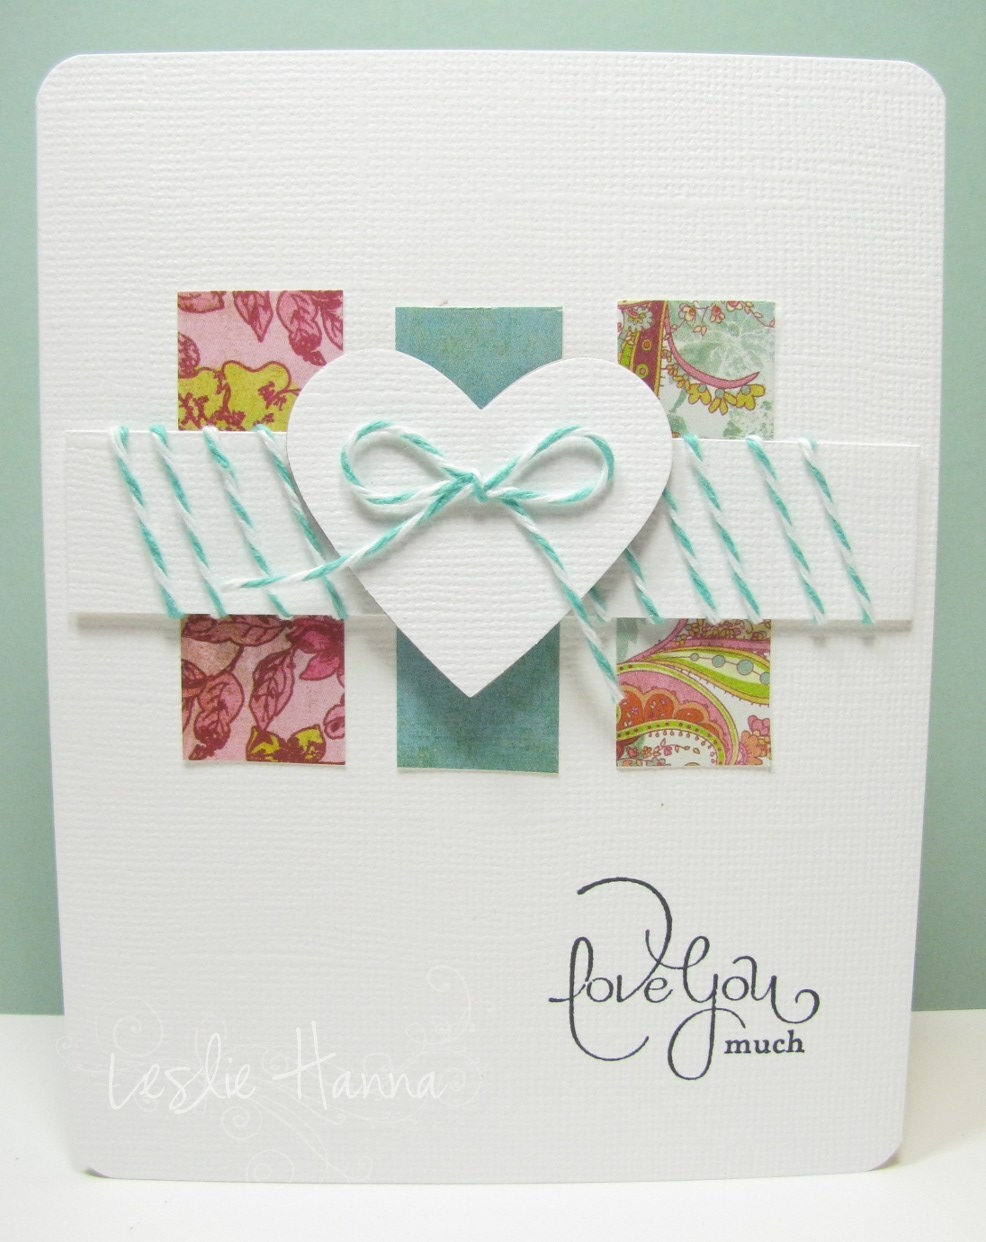
Here's another one:
With that one I got all crazy and overlapped the banners.
Here's a high-waisted model of the previous card:
I had to do SOMETHING to keep it interesting.
And a low-rider version:
These are really easy to make, and if you switch them up a little, it doesn't get boring.
I'm going to take advantage of this banners post to do a brief demonstration of how I cut my banners. I've tried several methods, as demonstrated by many crafters, but this is what works for me.
I'll show my preferred method first. I start by cutting the card stock into strips:
Next, I cut a short slit up the center of the bottom edge of the strip:
I don't draw the pencil line when I do it; it's just so you can see where I cut. I don't measure this but it's about 1/4", or maybe 3/8" or 1/2".
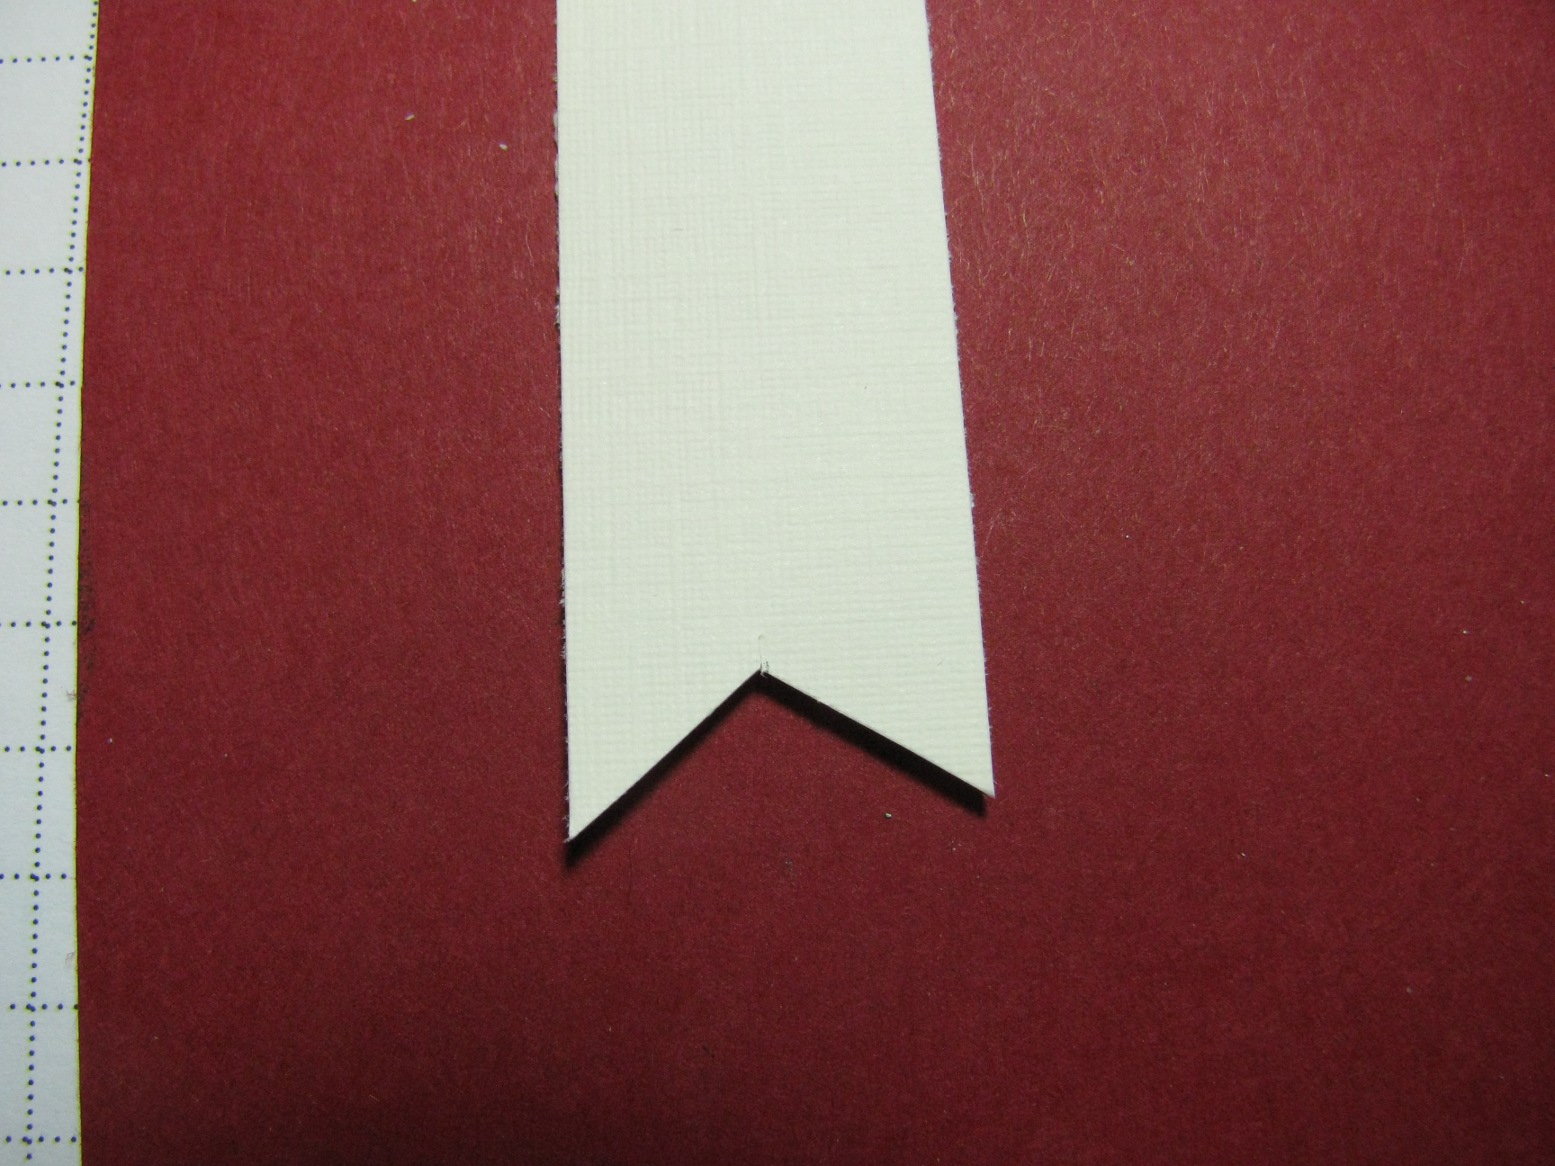
Next, you make the first diagonal cut, from one bottom corner to the top of the center cut:
Then you make the second diagonal cut from the other corner:
Ta-da! How easy was that?
This works no matter how wide your paper strip is; you just do the same thing:
Cut up the center, then come in from one bottom corner:
Then make the last cut:
Ta-da!
Some people like to skip that first center cut and free-hand the whole thing, but I need the guide to know where to stop.
Another method I use when I have squillons of these to cut at once is to use a square punch:
This is a 3/4" punch, but I've used larger ones, too. You need to stick the paper strip into the punch like this:
Make sure the corner of the punch is in the center of the paper strip, and the two bottom edges are about equidistant from the sides, then punch:
Ta-da! Same effect with one punch vs two or three cuts. I use this when I have a ton to do, but it's really a wash for me. I get frustrated lining up the punch, but since I've embraced non-symmetry in my world, I'm good with whatever comes out.
Now, let's say you've cut a banner but you don't like it. Maybe it's too pointy, like this one:
This can happen if you make your first cut up the middle too deep; then the diagonal cuts are on a very sharp angle. This is easy to fix! Here is how I trim mine that behave badly:
I drew the lines for demonstration purposes, but I just cut from the edges to the center on a less-sharp angle. Here's the first cut:
And after the second cut, it's much better:
See? Just like the other ones.
Now you've also seen that you can control the angle of the points based on how far in you make the cut up the center. A shorter cut yields a less-severe angle.
Now go off and play with some scrap paper, then go forth and create!
Thanks for stopping by!
*Yes, I had to look it up. According to
this site:
Once you
lay (put or place) a book on the desk, it is
lying (reclining, resting) there, not laying there.