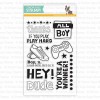
I'm still working on that pile of MAMBI card stock. Yesterday I managed to make two (TWO) cards. It's gotten bad, people, real bad. BUT, I also opened and used my new-to-me Simon Says Stamp All Boy set that I needed to own for the sneakers image. Yes, I said "sneakers", and yes, I broke my 50% rule of needing to like at least 50% of the images in a set before I let myself buy it. I should be flogged.
But two cards were made, and they don't suk, so here's the first one:
Do you see those colors? These are the remnants from when I made these cards for OWH. I love them. I love them together. I can't put them away. I might have a problem.
This is also another example of me stamping without a net. I started with the shoes, then went from there. I liked the chevron rectangle, but the white circle with the shoes disappeared into the right side of the card background, so I cut a half-circle from another piece of the chevron, lined it up behind the white circle, and voila! It worked.
I added some wood veneer stars, but I also stamped one on the banner. A wood one didn't look right there, and this way I used another stamp in the set. :)
Here's the second card I made:
This one started out with the dotted piece of paper to which I'd added a strip of the chevron. Then I rounded the corners. Then I decided the white circle looked fine on the orange dots. Then I added the sentiment banner. Then it looked lost on the white card base, plus I had no vertical element.
I went in search of a vertical striped stamp that would work on a landscape card. FAIL FAIL However, I do have the Simon Says Stamp Diagonal Stripe Stencil, so I put the diagonal on a diagonal like this:
and sponged on some Soft Pool ink. I made it darker at the top and faded it out towards the bottom. I did have to move the stencil part way through the process, but it was easy to line up. I only made one boo-boo in the bottom right corner, but ... it's handmade, right? ;/
Oh, and the strip of tape at the top protects the back of the card. I need all the help I can get.
That's two more cards done. I hope to work on that MAMBI paper on and off until it's GONE!
Thanks for stopping by!
Wednesday, May 28, 2014
Tuesday, May 27, 2014
SOS153: Background Check
Happy Tuesday, and welcome to a new challenge over at Shopping Our Stash. This week we'd like you to stamp a background. No pretty paper, no water coloring, no embossing paste & stencils - you have to use stamps!
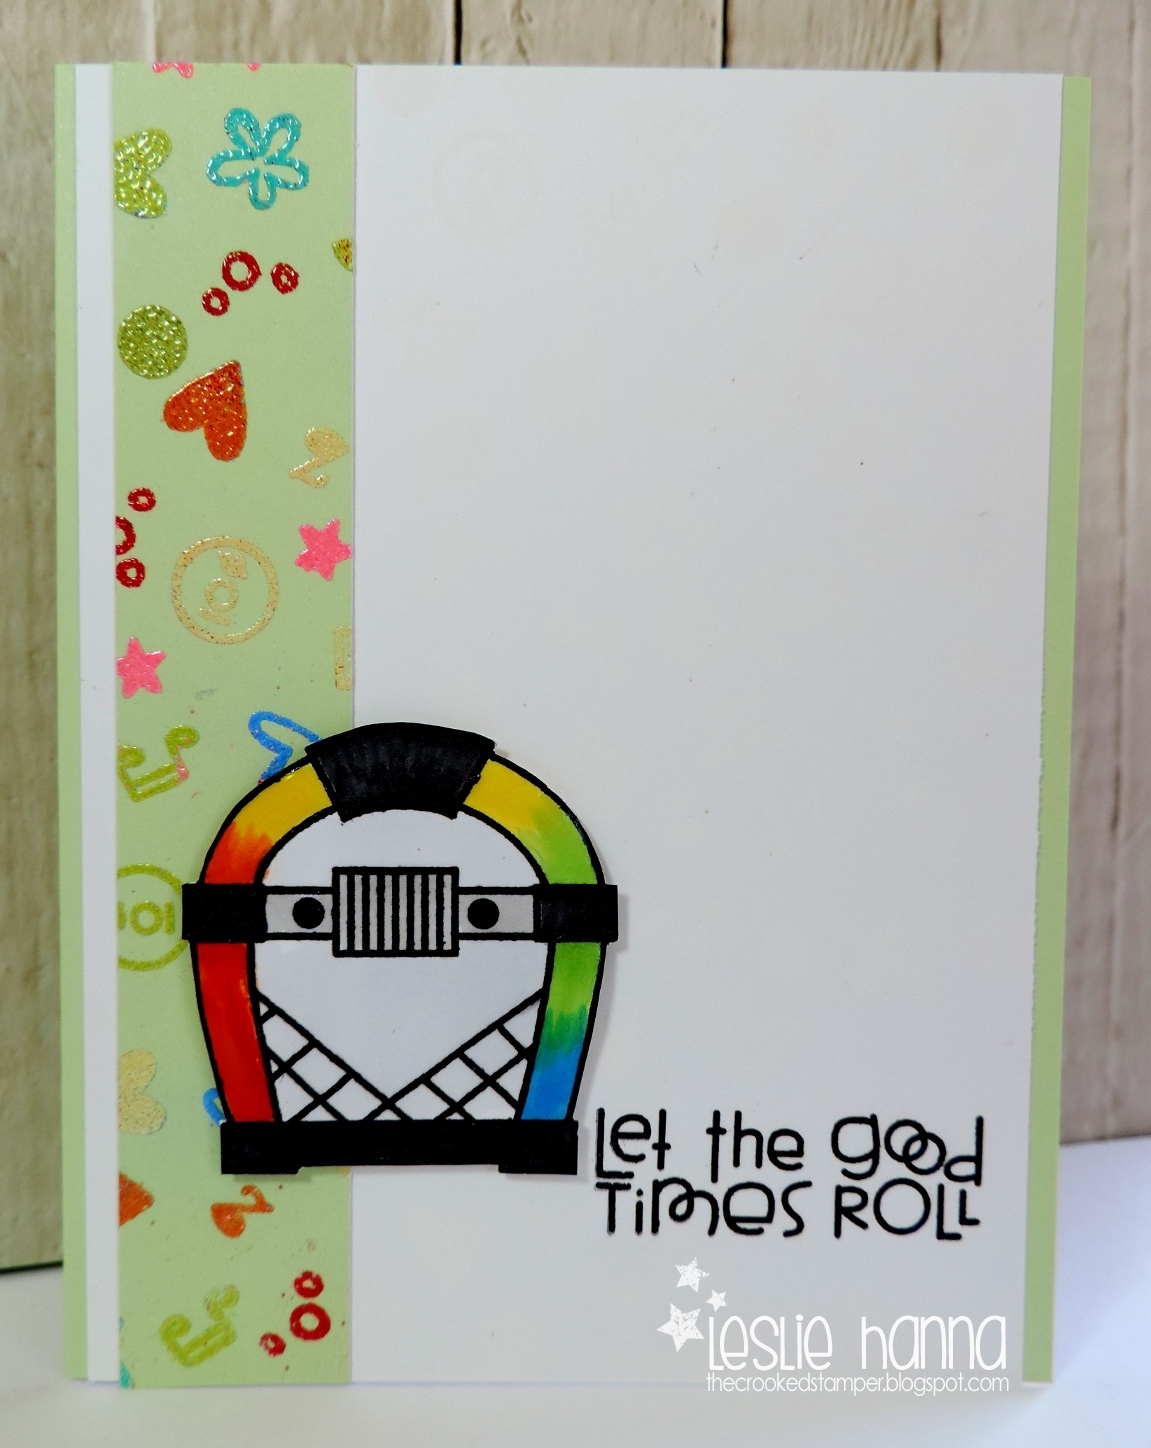
I had a lot of ideas for this one, but ended up choosing a new-to-me technique, which made it very difficult and fussy, as is my method. Here's my card, then I'll explain:
This may not look like much stamping, but there are actually two different kinds. First, I followed Jennifer McGuire's recently posted technique, mostly because I never pay attention to the tiny stamps included in most stamp sets. There is a vast, untapped collection there, my friends!
Here is the piece of custom paper I made using her technique:
heh heh I cut it up before I took the photo, so I had to put it back together for you. I used a bunch of tiny stamps from the Paper Smooches sets listed below, stamped them in Versamark, and colored with every stinkin' one of my Zing embossing powders. I did them in small groups, then filled in with single stamps as the images got closer together. It was kinda fun to do!
I only wanted to use a strip of the paper on my card, but since this challenge is Backgrounds, I felt guilty. So, I stamped the same images with white ink onto the white card base. Here's my attempt to prove to you I really did stamp them:
I didn't emboss these; I just let it dry.
Then I added the colored, cut-out juke box on foam tape. Finally I added Glossy Accents to the lights of the juke box. I used to actually have one of these, and the lights are like bubbling color, and making it glossy was as close to that as I could get. See:
I colored the inside of the juke box with a cool grey Copic so it wasn't stark white, though it's difficult to tell here with my crack photography skillz.
So there you have it - I stamped two different backgrounds. I think you should come over to SOS and play along with us!
Thanks for stopping by!
Subscribe to:
Comments (Atom)


