
Nestled deep in the pile, protected from the elements, was a small stack of pre-cut paper left over from a crop. That made it to the craft room, where I made six cards and disappeared all of it. Go, me.
Here's one of them:
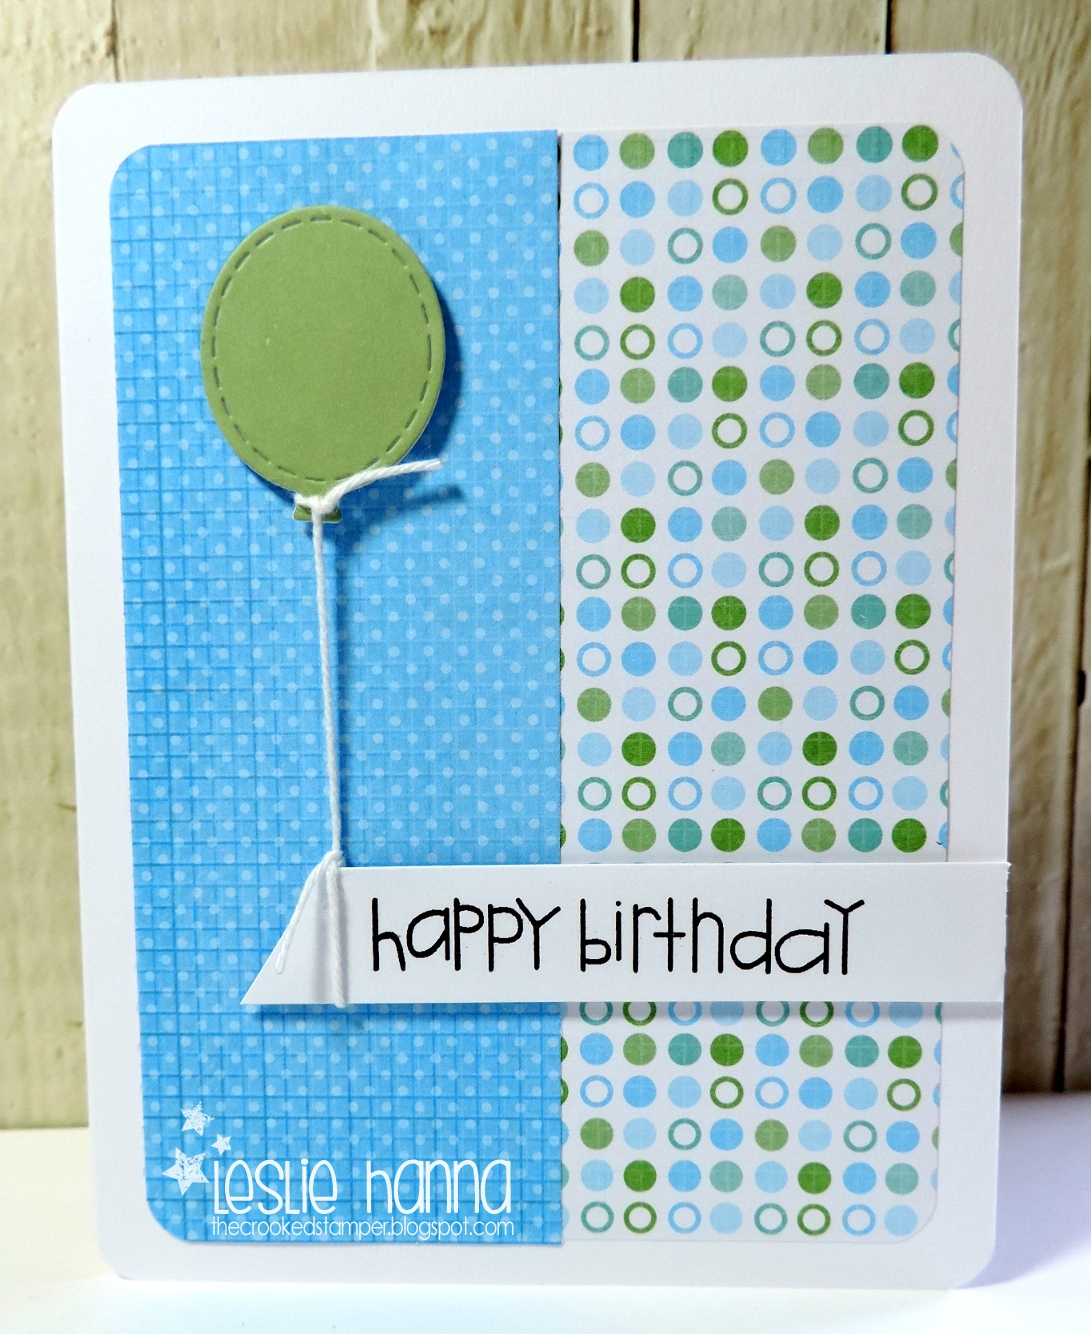
I cut the blue sheet in half and put it over the dots so I didn't go blind - the pattern is quite busy as a whole piece. I knew the card was going to need something at the top, so ... remember that green textured card I used in my last post? It came in a box with 10 cards and 10 envelopes. Normally I'd use the envelopes, but these open on the short side, so I can't use them easily for OWH. Instead, I used them as ... wait for it ... PAPER! I die-cut the balloon out of white card stock (for heft) and again from the green envelope because it matched the paper. I glued them together and put a piece of foam tape on the back.
I tied a piece of white thread around the balloon, then tied it to the sentiment panel. I put a drop of Glossy Accents on the knots to make sure they stay put.
Here's another one, just with the blue paper on the other side:

I liked the balloon better on the left, so I made the rest of the cards with the blue panel on the left. I made four more of these, and I also had a piece of plaid paper, and made two of these:

And now that paper is gone, and my OWH box is full! WIN-WIN! Once the Glossy Accents dries I'll pack them up and take the box to the Post Office.
Oh, Lesson Learned: It's soooo much easier when you tie the string to the balloon first, and then to the banner.
Thanks for stopping by!
Those are so cute - I like the balloon tied to the banner. Very clever.
ReplyDeleteThese are so fun and great combination of colors and patterns :)
ReplyDeleteFabulous cards!
ReplyDeleteAwesome blossom! Love how it looks like the balloon would float off if you hadn't secured it tightly. Love how you dealt with that extra dotted blinding paper.
ReplyDeleteYOWZA! the box is FULL!! and it's full of total awesomeness, too, which makes it even better! what a fab accomplishment!!! you are sooooo GOOD!!! <3
ReplyDelete