I've been playing in my craft room all day, and have nothing to show for it but pretty trash. So instead of a card, I'm sharing some photos of my crooked bird feeder.
You see, the feeder holds a cylinder of seed, and the birds roost on the base and nibble on the seeds. It starts out looking like this:
That's a full (new) cylinder of seed. I'm mighty proud I managed to capture papa cardinal, too!
As the birds work on the seed, you can see where they work:
I have short birds. Look at the guy on the right in this next photo:
He's stre-e-e-e-e-etching his poor neck to where he's likely to choke! Can't have that!
Oh, check out that bird on the left. Isn't he handsome?
My apologies to the bird on the right. You're handsome, too.
So to save them from their shortness, I do this:
Seed cylinder has been flipped, and the birds are once again happy.
In other news, tomorrow is the big reveal of my new blog feature. Y'all come back now, you hear?
Thanks for stopping by!
Saturday, January 31, 2015
Friday, January 30, 2015
Just Playing
Here's what I think is the last card from my crafty day a few weeks ago. This whole card was just me playing with a new die and some unopened washi paper.
Here's my card, then I'll explain:
I started with my still-not-used Frantic Stamper Proud Peacock die. I die-cut it out of a pretty sheet of washi paper from We R Memory Keepers.
I carefully peeled the washi paper from the die and stuck it to a piece of white card stock. The body was cut from a piece of DCWV Shimmer paper. I added the eye with my black glaze pen.
The blue layer was a circle I die-cut and trimmed to fit in the bottom right corner. The handsome flags sticking out are pieces of the washi tape sheet I used for the peacock feathers. The sentiment is from WPlus9 Quite Like You.
I was following the then-current Retro Sketch:
which I turned upside down:
Before I made this, my pal cut the peacock feathers out of white card stock that had been distressed with several colors of ink. I liked that look, so I'll probably try it myself before I file this die.
I have several pages of undone challenges that I hope to give some attention this weekend, so I'll be back soon. :)
Thanks for stopping by!
Wednesday, January 28, 2015
Pushing My Luck
When I saw the current challenge over at Sisterhood of Snarky Stampers was Snarker's Choice (to pick any previous challenge), I knew immediately what I'd do. I may still be sad I missed the Brad challenge, if only for the graphic they used:
See why I needed to play? And now I can!!!!
Here's my card, then I'll explain:
I used papers from my Basic Grey Out of Print 6x6 pad, and the only really tough decision was having to use that (gah) pink strip to break up all the busy.
The sentiment was discovered in my UFO pile, and I'm not sure from whence it came. I just cut it out with a circle die, layered it on an existing black circle that was taking up space on my desk, and slapped it onto the card.
The only problem was I put that onto the card base before I added the brads. DOH! I had to hack off the card front from the back, add the brads at the top of the black panel, then attach the old front to a new card base.
I followed the current Sketch For You To Try:
I'm so happy I got that out of my system. :)
Off to link up!
Thanks for stopping by!
Tuesday, January 27, 2015
An Old Reliable
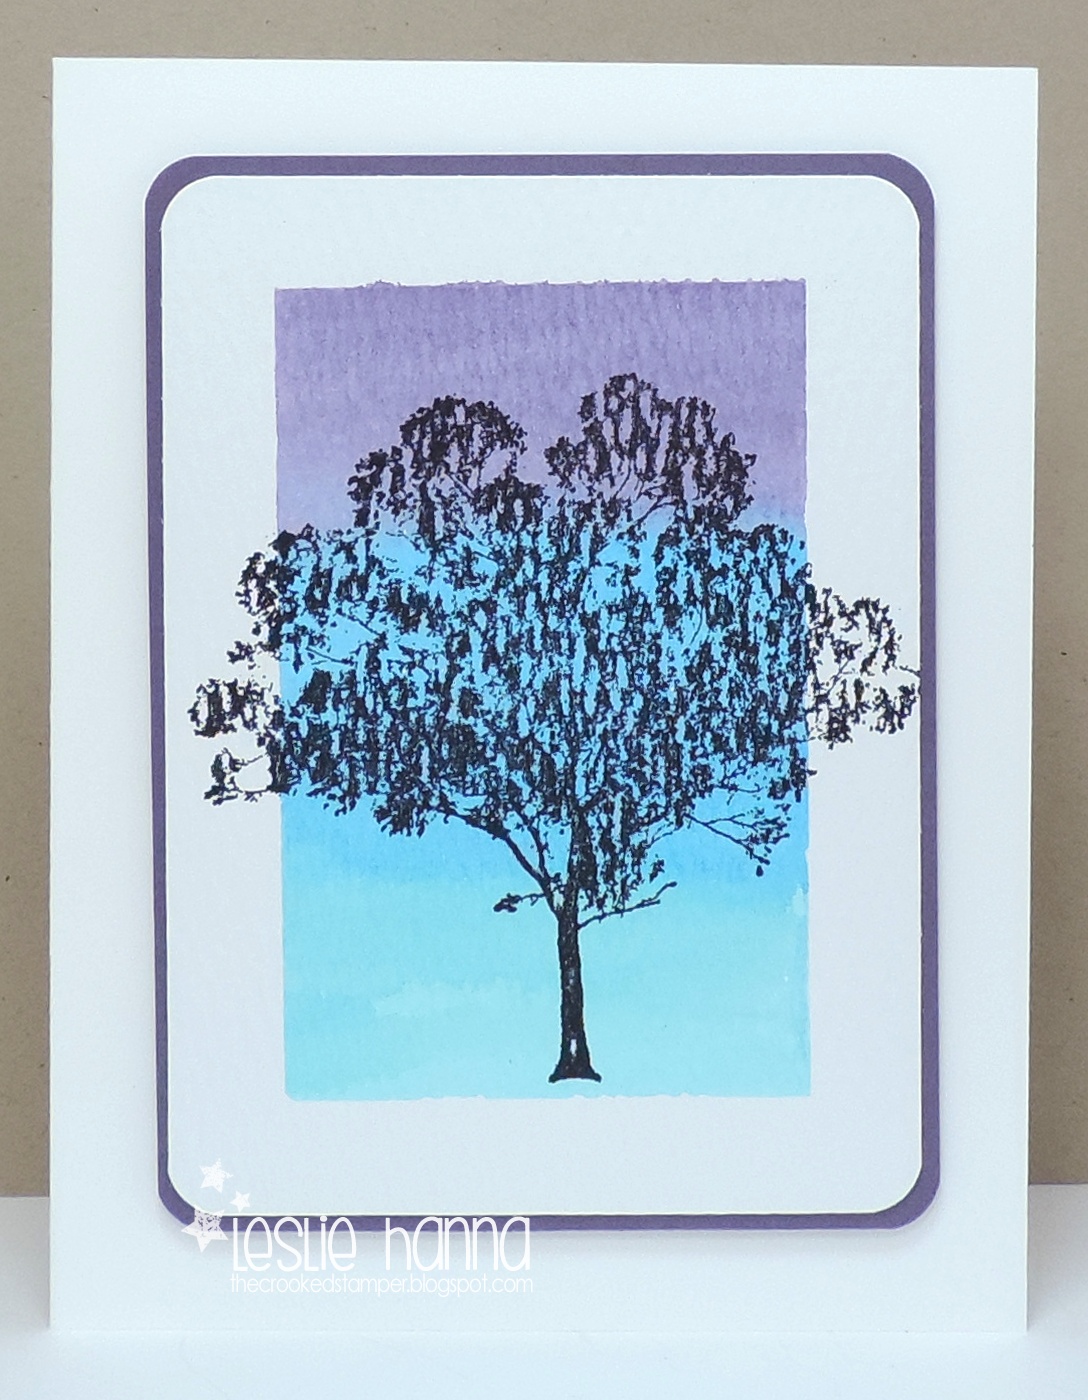
I was recently in need of a few simple cards I could use for several different messages, so I made four of these:
I covered the edges of a piece of Distress water color paper with painters tape, which left just a small open area in the center. I smooshed three colors of Distress Ink onto my craft sheet, spritzed them with water, then used my water brush (with no water in it) to paint the colors in three stripes - green, blue and purple.
I dried the ink before I removed the tape, then I stamped the Hero Arts tree with Archival ink. Next I trimmed the panel, put it on a purple layer, and mounted it to the base with foam tape.
These were so easy to make, I actually made two at a time. :)
I didn't stamp a sentiment on any of them. I know one will be a Thank You, but I'm not sure about the others, so I'll just let my hand-written words on the inside do all the talking.
In other news, I have a few snarky card ideas up my sleeve, and I'll be back when I can get them onto paper like they are in my head.
Thanks for stopping by!
Stuff I used: SU Perfect Plum card stock (maybe the 39th color I tried, aka: why I don't like purple), and the following:
SOS #186: Love Me Do
It's Tuesday, and time for a new challenge at Shopping Our Stash. This week's theme is loooooove, and we are to make a card for Valentine's Day, or just a plain old Love card.
Here's my card, then I'll explain:
During my recent crafty play date, I stamped and die cut a few of these cuties, so today all I needed to do was color the little guy and figure out how to use him on a card. I started with the heart embossing folder that I may or may not have had to clear of dust. It's probably one of the first embossing folders I ever bought.
Then I thought plain white would be boring, so I took my Distress Tumbled Glass mini cube and touched it to the embossing folder in a few places. When I ran it through the Big Shot, the ink smooshed through and left a little color on the panel.
The blue monstah blended too well with the background, so I played around with some pre-die-cut circles in my stash until I got the combination you see here. I like that the monstah is slopping over the inner white circle, too. I actually did that on purpose!
I had some leftover hearts from a long ago project, so I used a few of them here. They were die-cut from some card stock covered with gold washi tape.
For some finishing touches, I added Enamel Accents to his eyes and some clear Wink of Stella to his tongue. All monstahs have sparkly tongues, don't they?
So if you're making some love cards this week, I think you should pop over to Shopping Our Stash and link up to play along!
Thanks for stopping by!
Saturday, January 24, 2015
Shaker Clocks
During my recent crafty play date, I played (hahaha) with a borrowed Clock Shaker Card die, and I made this:
First I die-cut the clock out of both red and white, trying to get the die mostly centered on the white panel. I cut a piece of acetate just smaller than the white panel and stuck it to the back. Then I added the red clock and the white piece at the top (under the handle) to the front of the card, sticking them to the acetate.
Next I cut a piece of white fun foam just smaller than the white panel, cut out the center to expose the clock face, and taped it to the acetate with Tombow extreme adhesive.
I cut another white panel, added the clock hands, and glued on a few pieces of glitter. With the card panel face down, I added some more glitter hearts & stars to the hole in the fun foam, then glued on the white panel to seal it all up.
After that, I didn't have to be careful of all that glitter, so I mounted the thing onto a teal/green layer and put the whole thing onto a white card base. I stuck on some bells I'd cut from foil paper, and the "T" thing (for shutting off the alarm).
I knew I had the perfect sentiment at home in my Hero Arts All The Time stamp set, so I added that after I got home.
The colors I used here, including the blue & yellow glitter hearts and stars were based on the still-current Always Playing With Paper challenge:
While I was making this card, I muttered that it would be cool if there was (were?) a coordinating clock face to use with the shaker die. And THERE IS! The Hero Arts All The Time stamp set has a clock face with Roman numerals, so after I got home I made this version:
The story of this card is mostly the same as the first one. I did have to trim down the clock face hands since the stamped circle is smaller than the opening of the die, but I like them stumpy like that. I think the stamped clock face makes a huge difference in the look of the shaker.
The fun thing about this version is I only put in blue and iridescent glitter, but they still look pink or red depending on the light. The hearts I stuck in the 'o's of the sentiment are actually pink.
I'm still debating if I need this shaker die or not. I'll have it on hand until next month, so maybe if I make a few more of these I'll get it out of my system. Maybe.
Thanks for stopping by!
Wednesday, January 21, 2015
Christmas Cheer
For my second Christmas card from my crafty play date, I bring you another red + teal creation (no yellow this time):
This one is for three challenges. The sketch is from the current Mojo Monday sketch:
which I turned on its ear:
The second challenge is the current Merry Monday Christmas Challenge to use house(s) ... a bird house is a house, right?:
and the third challenge is Jingle Belles, which asked us to use something new.
Here's my card again so I can explain:
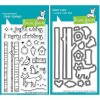
I loved the teal + red of this Jillibean paper (of course), so that was my starting point. I added the strip of red, then pondered the circle element of the sketch. I had a Lawn Fawn Joy to the Woods set I NEEDED TO OWN, but hadn't yet used, and it has that adorable cardinal. Perfect.
But the cardinal is small, so I used a circle, but took some liberties since it's way smaller than the one in the sketch.
I stamped the branch (from my Hero Arts Bird & Branch Christmas set I'd just opened for my previous card) twice: once on a piece of linen ivory Neenah, and once on the red strip I'd cut. Then I colored them and lined them up, and stuck on the cardinal.
For my cheater house, I used the bird house from the Lawn Fawn set. The red strip needed something at the top, so it got a bird house. The Merry Monday challenge said house(s), but it didn't say they needed to be people houses.
Then I realized I had no sentiment, so I used another one from my Hero Arts set like I did on my previous card. Ink in Versamark, ink in dye ink, stamp, cover with clear embossing powder, then heat to set.
See, shiny:
There's a lot going on here, but I like how it turned out!
Thanks for stopping by!
Stuff I used: linen ivory Neenah card stock, and the following:
Subscribe to:
Posts (Atom)
