Saturday, June 29, 2013

Cards for OWH

I sold some home office furniture a week ago, and they came to pick it up today. That means over the past week I've been emptying out drawers. In the past 12 years since I bought the furniture I have accumulated a ton of, er, stuff. So this emptying out exercise has been very interesting.

The furniture was in my craft room, hogging one long wall. As you might imagine, since I have very narrow paths in there to start with, there wasn't anywhere to put all the boxes of stuff, so at first they filled the path on one side. I saw it as additional horizontal surfaces to place other stuff. Eventually, though, things reached critical mass and there were a few craftalanches. 

One such episode revealed an old pile of 4x5.25 pieces of paper I'd generated by disappearing a 12x12 pack of paper I bought by mistake. I decided to use the things this weekend and make them go away. While standing at my desk pondering my options, I spied a pile of die-cut rectangles left over from making this gift card book thing, and it all came together from there. 

Here's the piles of paper:


Patterned paper on the left and the stack of white rectangles on the right. A match made in heaven.

The rectangles were a bit larger than I'd normally use on a card, so I broke out some of my MFT bonus sets (the ones you get when you spend enough ... *ahem*) that I rarely use since they are so big, and got to work.  Here is the effort mid-way:


Mostly finished card fronts to the left, stacks of parts-is-parts and ribbon pieces, and an amazing amount of work space available.  Obviously I haven't been crafting enough. 

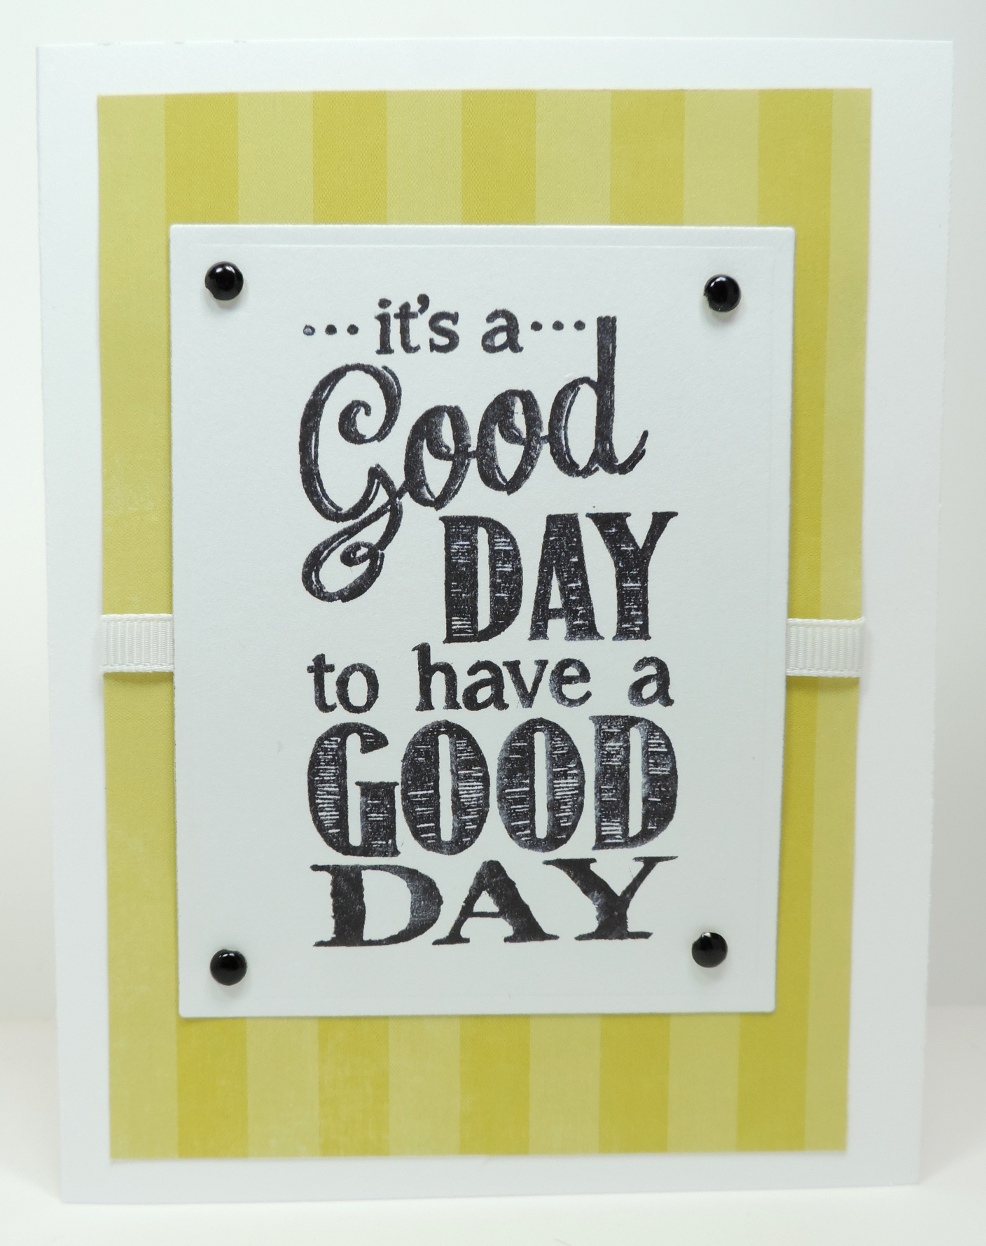
Here is a sampling of what came out. First, the Good Day cards:


I decided to use up some of my vast collection of brads and eyelets, but I had nothing to match this yellow-green, so these cards got black brads.

Here is a stripey version:


Next, a Friends sentiment:


I found matching brads for these. And a stripey version:


Next, I broke out a Birthday sentiment with a place to stamp either BOY or GIRL, so naturally I did both. First the girl version:


Isn't that a clever stamp? Well, two stamps, but still ... And I got them straight!

Since these were for a girl, I decided to use the larger dotted side of the paper instead of the stripes (gotta love the choices that double-sided papers give us, huh?):


The girl cards got a die-cut bow (die from Taylored Expressions). It's flat, and flat is good for OWH. I also miraculously found matching brads. These might be Rose Red, maybe.

And now the boy cards:


I deemed the small polka dots acceptable for a boy, and I used stars instead of the bow I used for the girl cards. Also, I decided these needed black brads, mostly because after a few of these with eyelets:


I was questioning my sanity.

So that's 26 cards for OWH in one afternoon, and I've disappeared a lot of that paper. I have a few more pieces of the patterned paper left in grey/gray and dark blue. I might make some manly cards with them tomorrow. :)

Thanks for stopping by!

Products use but not linked below: Taylored Expressions Basic Bow die, MFT Chalkboard Greetings, MFT Birthday Sentiments, SU white grosgrain ribbon, misc brads and eyelets.


You're Awesome

I've been playing. I love it when you see one thing, then you see another, then an idea forms.  It all started when I watched this video by Jennifer McGuire. She used Ferro with a stencil to create a raised pattern. I was instantly smitten.

Then I saw the new MFT Stone Wall stencil and my idea started to form.  This is what came out:


Isn't that cool?! It's not only raised and texture-y, but it's not stiff and brittle; I can bend the card stock and the stuff bends with me. This is very difficult to mess up.

About that dinosaur: I finally broke out my Paper Smooches Dino dies to make my life easier, though I did fussy-cut all those leaves. The dino has spots because my coloring came out streaky and I needed to camouflage it, so he now sports spots.

Now I need more colors of Ferro. I shake my fist (lovingly) at Jennifer for introducing me to yet another product I need. :) I'm going to try a few more colors with other stencils to see what happens.

Thanks for stopping by!

Products used but not linked below: Paper Smooches Wise Dies Dinos 1.


Tuesday, June 25, 2013

SOS #107 - Oldest Embellishment

Happy Tuesday! It's time for another Shopping Our Stash challenge. This week we ask you to use your oldest embellishment. That's right: go into the way-back box of stuff and find something you got in your early collecting days. Maybe it's brads, or eyelets (got a hammer still?), or flowers, or bling. LOTS of options here.

I went on my tippy toes to get down a box of old stuff I had actually organized a few years ago in the hopes it would be easier to find things and maybe I'd use them. Nope, didn't happen. BUT, they are old and I rummaged in the organized bags until I pulled out a partial package of gold-rimmed vellum shell creatures, and I made this:

Even though they look grey here, they are white vellum and you can sorta see the textured card stock through them.  I colored a piece of Bazzill white* with some Gelatos and schmeared it around with a water brush. Then, looking for the elusive vertical element, I got all crazy and swiped my white Big Brush pen over it from bottom to top.

The two seahorses probably don't make bubbles like fish do, but I decided they did, mostly because I needed something in the yellow section. The sentiment is from the Hero Arts Oceans of Joy set, and I cut it in half so it would fit here.

I put a ton of adhesive on the back to try and minimize the warping and called it done.

Now it's YOUR turn. Go digging in the far reaches of your stash, find one of your oldest embellishments and use it on a project. Then come back to Shopping Our Stash and link us up so we can see what you've made!

Thanks for stopping by!

* I used Bazzill white because my water color paper is MIA. Also, my sequins. Hmm, maybe they've run off together. 

Products used but not linked below: Stampendous Frost-A-Peels, Bazzill textured white card stock.


Monday, June 24, 2013

Miss You Tree

In today's episode of "It seemed like a good idea at the time", I was inspired by this card made by Jess Larsen for the Simon Says Stamp blog. Last week I made this:


Then I got distracted (more on that in a moment), so it sat there for a week. Tonight I decided it really needed more white on the background, but since it was TOO LATE for that, I just cut it out and made my own Polaroid look:


I was forced to make a square card since I refused to cut off the branches, and because I wanted it at an angle that left it too big for an A2 card base. And now this photo is giving me vertigo. If you're wondering how I did this, please check out Jess' post for the details. It's really easy. If you try it, though, add more white than I did.

Now for my distraction: I bought a house in Ohio. I DID! I'm planning to retire and move there eventually. The actual "when" is still in question, but I'm very excited. I'll be 30 minutes from my dad and brother, and since I grew up in Dayton, it's "home" to me. More on that as things progress.

I'm suffering from stamping withdrawal, so I hope to get back to some challenges this week so I have something else to share with you.

Thanks for stopping by!

Products used but not linked below: misc button, some misc really thick white card stock for the tree, Core'dinations white 8 1/2 x 11 card stock, square Nestabilities.