
Case in point: The Happy Little Stampers March Sketch Challenge:

I saw an opportunity to use one of my neglected dies, and after several failed attempts of inlaid die cutting, I had to go take a nap. I went back to my table and tried with a different flower die, several times. I finally had to walk away. I might be stubborn.
Today when I entered the inner sanctum that is my craft room, yesterday's last UGH attempt was staring at me, and I saw a way to save it. ALL WAS NOT LOST!
Here's what I ended up with:

And no, the background isn't dirty. It's covered with dots of a Copic marker. The white was making me itch.
The flowers were cut from white card stock and colored with Copic markers. I then die-cut a white panel twice to make room for the colored flowers. I stuck a piece of printer paper behind the white panel, then placed the flowers and all the white filler bits in like a puzzle.
After hours (days, technically) of work, I was not going to ruin this card front by stamping poorly, or crooked, so I broke out my MISTI. I know others have made pretty darn good videos about how to do this, but I took photos, so I feel a burning need to share.
One of these days I'll get my tripod set up again and make a video. It's on my list of things to do now that I'm retired. It's only been a year and a half ... what's the rush?
So here's my step-by-step of stamping a sentiment using the MISTI.
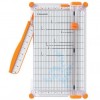
Step 1: Place your card front in the corner:
 |
| I was lucky to get a MISTI with black lettering, not (gah) pink! |

Note: This grid is available to download at the My Sweet Petunia download page.
Step 3: Position your stamp, using the grid to hopefully get it straight:
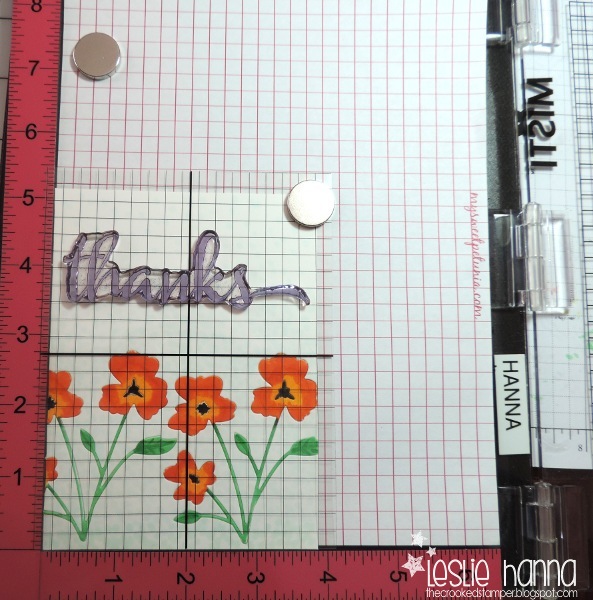
I think mine is still a little off, but you can get yours straight. Also, using this grid over your card front is a nice bonus in case you didn't clean your stamp 100% last time you used it. That may or may not happen in my world. Just sayin'.
Step 4: Close the lid to pick up the stamp:

There it is on the right, with a piece of yellow card stock behind it so you can maybe see it. Please ignore the other s-crap also collected under the lid.
I inked it up and stamped it, and yep, it wasn't a good impression. NO PROBLEM, since I was using the MISTI! I just inked it up again and re-stamped.
Ta da:

Not one to leave well enough alone, I had a hair-brained idea to add a so much under the thanks. I used an acrylic block for this instead of the MISTI. Don't ask me why.
One tip for getting the two words lined up with each other: use a ruler. I pushed a ruler under the two stamps until I liked their position, then just picked them up with a block:

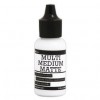
Apparently I was still not done. I have some black die-cut butterflies out on my work space, and I felt compelled to add two. I used some Matte Multi-Medium to attach them.
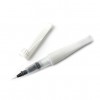
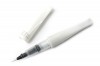
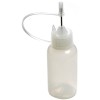
Here's another tip (no pun intended): I find I squirt too much of the multi-medium on my work area for these tiny pieces, and I waste a lot of product. I bought a few small applicators (linked below) and thought about pouring the multi-medium into one of them. That sounded like work. I then realized you can pop out the pointy top part of the small multi-medium bottles and the cap from the applicator fits perfectly. Like this:

Sweet.
For my last act, I covered the flowers and butterflies with clear Wink of Stella. Why not?
Wow, that was a long post! Thanks for reading this far!
I think I need a nap now. Thanks for stopping by!
Stuff I used: SU Basic Black card stock, and the following:


Your card is gorgeous, and I need a Misti. Enabler.
ReplyDeleteThis card is absolutely gorgeous! Of course, I would have used my MISTI to stamp both parts of the sentiment. I know you prefer to employ baby steps with new things. :)
ReplyDeleteHOLY GUACAMOLE! and not just ordinary guacamole, even, i'm talkin' super-fancy GOURMET guacamole that has bluecheese and chunks of pineapple in it, and is made at your table by servers who've been specially trained to open avocados with an impressive flouish! YOWZA!!! (seriously, WOW!) <3
ReplyDeleteBeautiful card. I like the background, will have to try that... And I will be looking for a MISTI because that would solve a LOT of my problems! Thanks for the photos.
ReplyDeleteGreat job sticking with it Leslie. You have ended up with one gorgeous card. This is such a fantastic technique ... and the card is so fun and cheerful with the orange and yellow flowers. Thanks for playing along at Happy Little Stampers.
ReplyDeleteBeautiful card! You're right, some time away and a fresh look work wonders! They obviously did here!
ReplyDelete